Ride of the Valkyrie, Part 4
Continuing my extremely slow construction of my Valk, I move onto the next stage, the cockpit.


The first stage is getting the two crew members placed in their seats and then getting their arms attached. This is pretty easy as the seats have the grooves in them to align the arms more easily. The only choice I have to make is which head to use. So I went with the closed visor for the copilot and the targeting head for the pilot. Once these were dry I glued the consoles in place and the two seats together. I didn't take any pictures at this point though.


Next up was the exterior of the cockpit. So again I cleaned up and laid out the pieces to get an idea of what I have to do. I can't believe how fiddly the nose section is. The sensor array is probably the most fiddly. But in the end it all fitted together nicely.


So here are a couple of pics showing the completed cockpit section, all except the clear canopy and side weapon and side sensor. I'm not too sure about the strength of the canopy support inbetween the two crew members, it seems like it may fall off with the slightest touch.


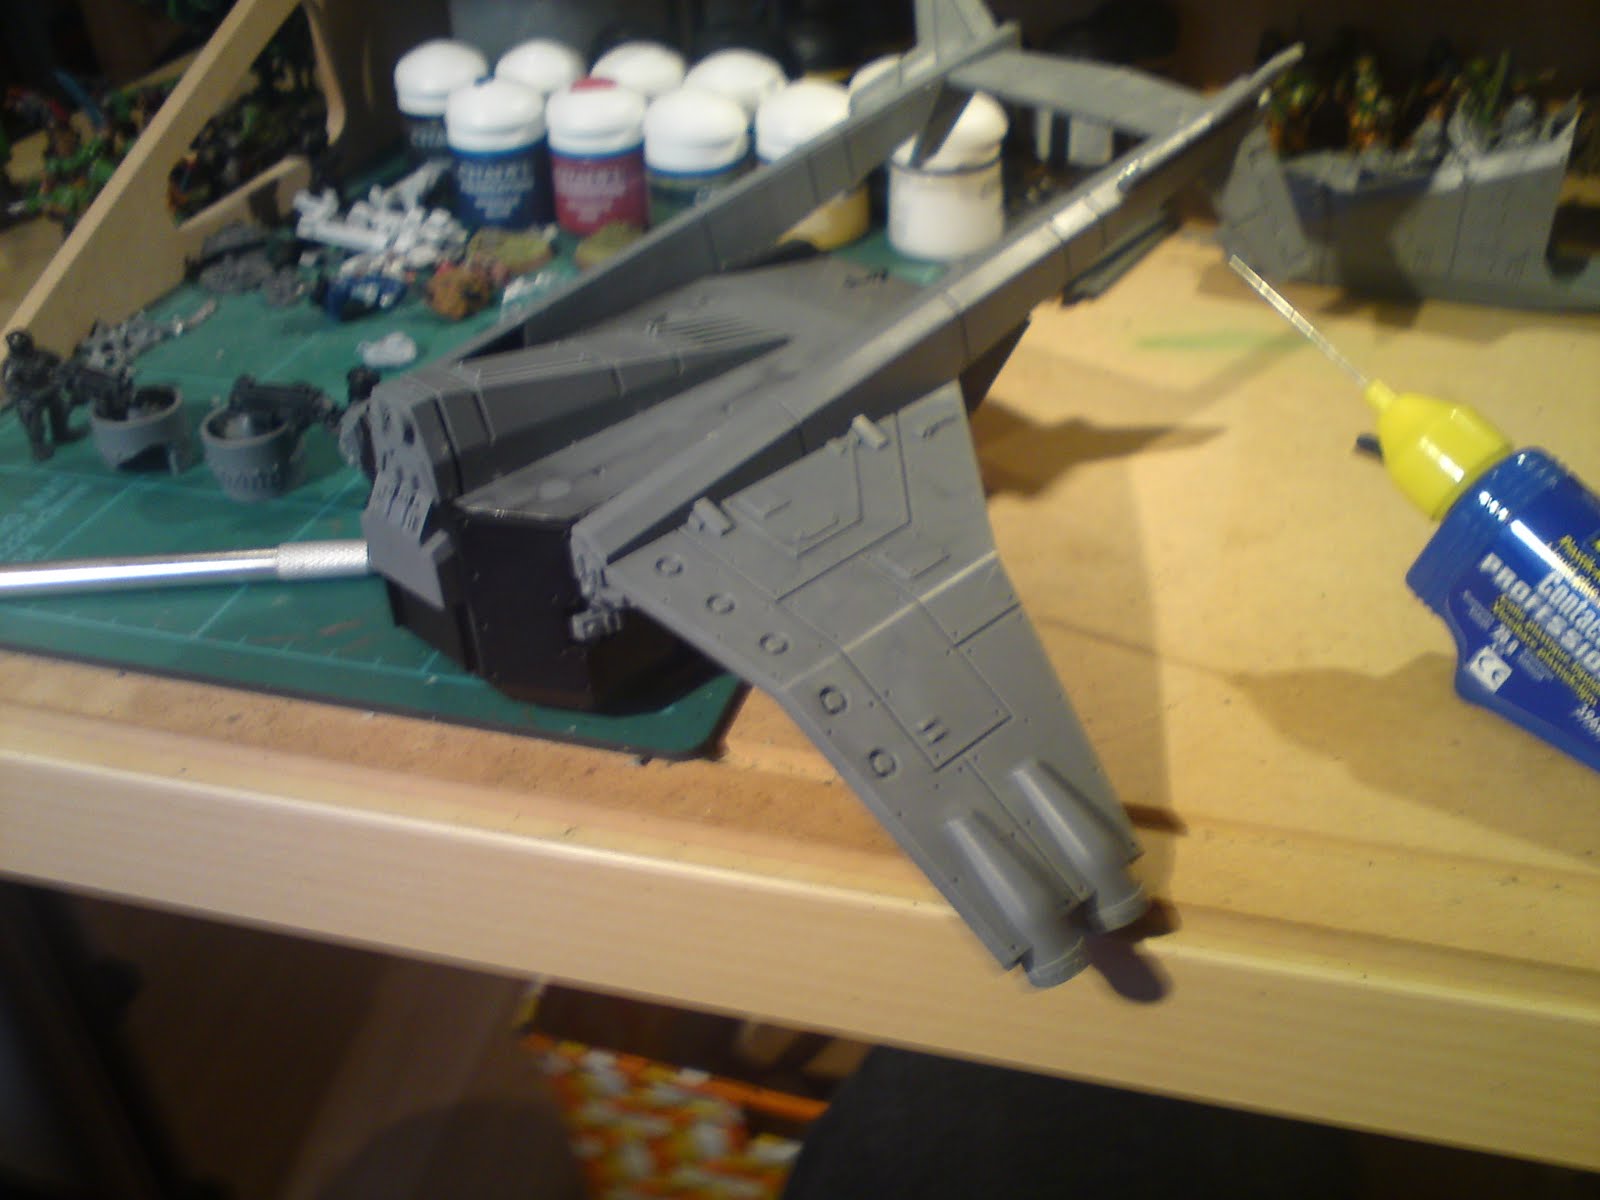
And to finish off, I've glued the wings onto the main body. I'm still trying to find my magnets before I attach the weapon mounts.
So next up is attaching the cockpit to the main body and getting the odd little bits finished. Thanks for reading, and as always comments and suggestions are grealty appreciated.


The first stage is getting the two crew members placed in their seats and then getting their arms attached. This is pretty easy as the seats have the grooves in them to align the arms more easily. The only choice I have to make is which head to use. So I went with the closed visor for the copilot and the targeting head for the pilot. Once these were dry I glued the consoles in place and the two seats together. I didn't take any pictures at this point though.


Next up was the exterior of the cockpit. So again I cleaned up and laid out the pieces to get an idea of what I have to do. I can't believe how fiddly the nose section is. The sensor array is probably the most fiddly. But in the end it all fitted together nicely.


So here are a couple of pics showing the completed cockpit section, all except the clear canopy and side weapon and side sensor. I'm not too sure about the strength of the canopy support inbetween the two crew members, it seems like it may fall off with the slightest touch.

And to finish off, I've glued the wings onto the main body. I'm still trying to find my magnets before I attach the weapon mounts.
So next up is attaching the cockpit to the main body and getting the odd little bits finished. Thanks for reading, and as always comments and suggestions are grealty appreciated.
3 comments:
This is really tempting me to break out my Valkyries and build them! It's good to see you're taking a lot of care in the construction phase as it will pay off well at the end!
That little bit between the two cockpits is mighty fragile. Mine has come off twice now during the prep and first pass base coat phase. I am leaving it off now until I actually want to glue the canopy in place at the very end. This should also mean I get a better fir around the canopy.
@ Frag Dad - It only seems like I'm taking care as I work so slowly. :)
@ Rogue Pom - I used the lower clear canopy piece as my guide so hopefully it'll be in the right place. Though I may add some more glue for strength.
Cheers for the comments guys.
Post a Comment