
 Another completed tank! This time it's the magnetised Manticore/Deathstrike


Emperor's Fist Tank Company Cont. Part 4
I got a little bit behind and disheartened with my tank company. I think that the amount of work that I had to do kind of struck me and left me not wanting to do any. However things have changed. I decided that the tanks had spent enough time on my shelves gathering dust and it would be good if I actually worked on them. The first thing I had to do was break out the tank brush and give them all a good dusting off. Several hours later and I was ready to start.If you don't know about the composition of the tank company, it consists of 1 Company Command Tank and 3 squadrons of 3 tanks. Whilst browsing through the Games Workshop website, I took another look at the article on building a tank company and something actually gave me an idea. In the article the GW staff put a very distinguishing mark on all of their tanks. This consists of painting the front panel on each side red. I thought that I'd give it a go, so I tried it out on my test Chimera chassis using Mechrite Red and it came up pretty well. So I went ahead and painted it onto two tanks.


Due to my less than brilliant bruss control I decided to mask off the edge of the front plate. This did help to make things easier as I wasnt worried about getting red paint where it shouldn't be. The picture on the right shows the panel in all its fully painted glory, and I think that it makes the tank stand out without being too in your face - in other words its a subtle addition.
I then wondered if I should have all of the tanks with this marking or if I wanted to try different things. In the end I have settled with giving the normal tanks the marking but only painting the small detail in the middle of the panel (no idea what to call this bit) for the command tanks. There is of course the problem that then the enemy would be able to tell which are the command tanks and which aren't, but then again when there are 10 Leman Russ' trundling across towards you, I don't think they'll be too picky about target allocation.
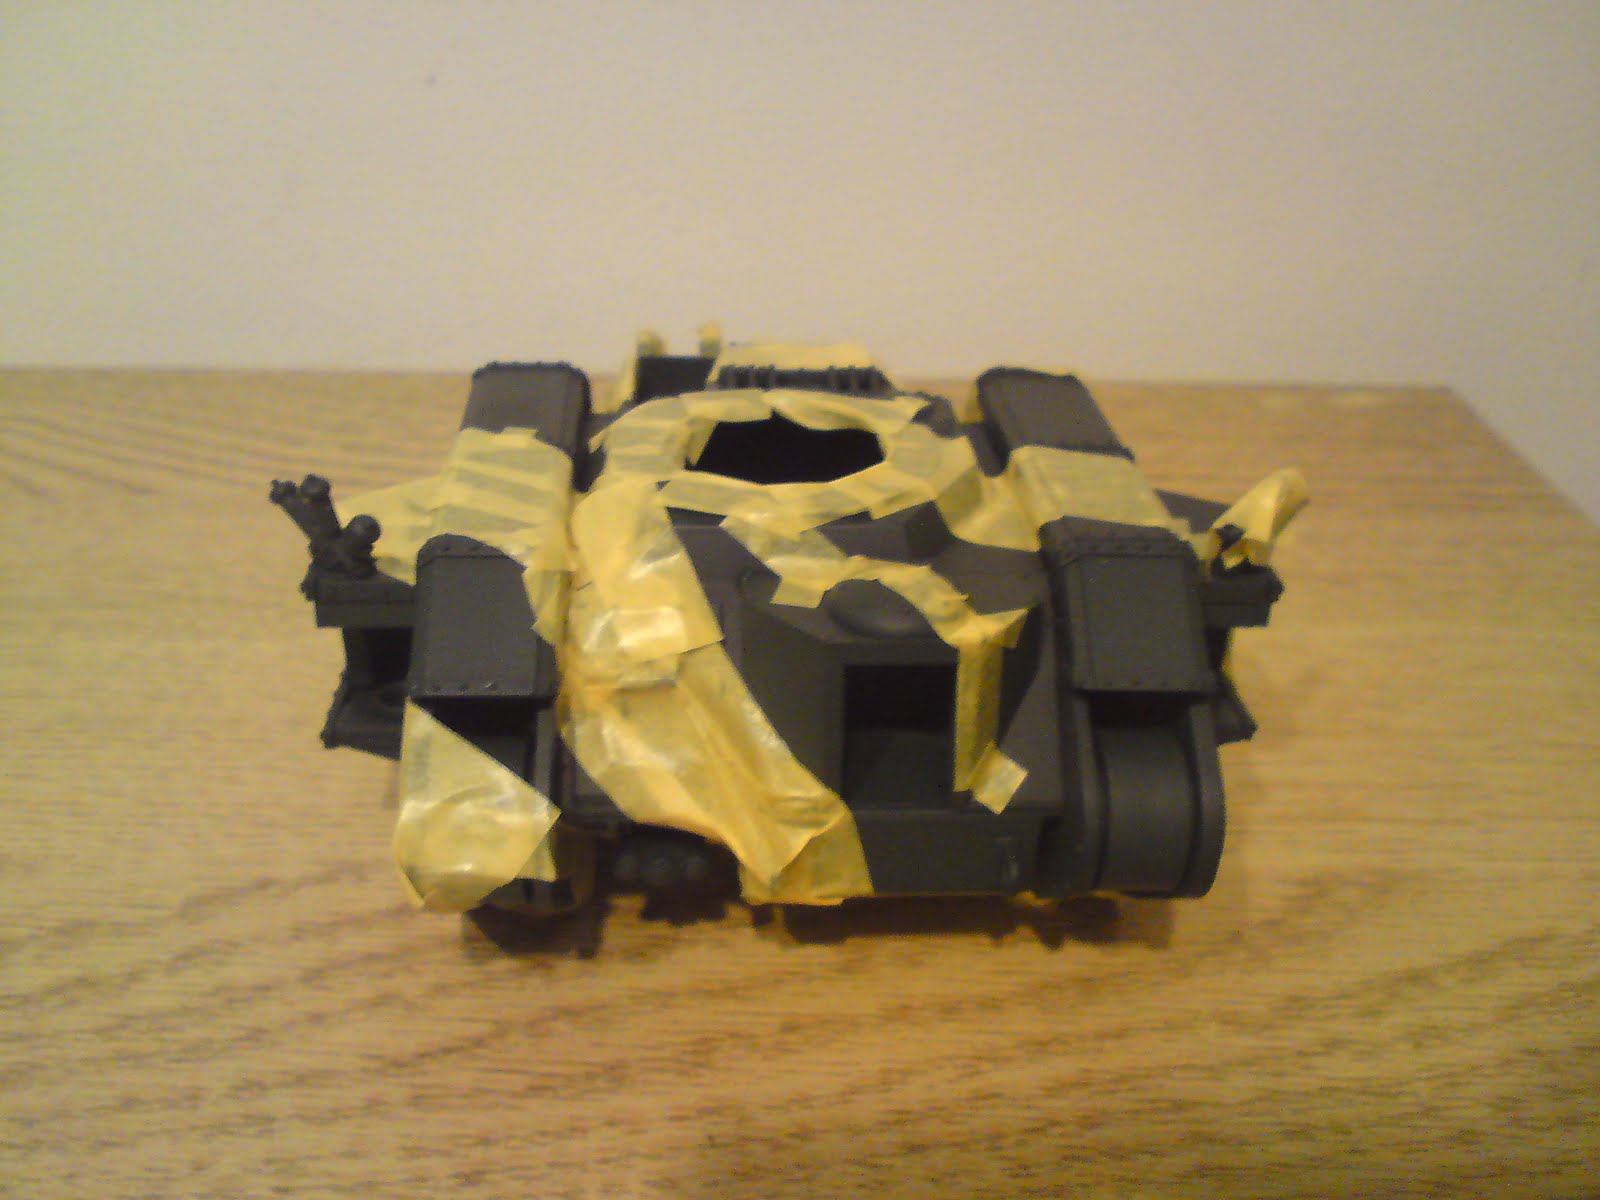
Like using Green Stuff, masking tape requires some skill which takes a bit of practice. Figuring out how long to cut a certain piece and then trying to position it can be frustrating. With these tanks though I didn't have much choice.


For one tank squadron, I wanted the camouflage scheme to be angular, kind of like the disruptive camouflage used in the real world. I tried to keep the pattern the same across the whole of the tank and follow the lines over sections. This worked quite well and this is probably my best attempt at masking with the tank above.


I'm not really that happy with this tank at the mo. Mainly because there is going to be more light green than dark green when I'm done. Do you guys think that I should stick with it and let this one be the odd ball? Or just add more masking tape?


A nice and simple straight lined pattern for this one. Should help to keep the camo looking bold. On this I've tried to make sure that I'm not just doing the same pattern on each side of the tank, I don't want them to look to mirrored.


And finally the experiment. Now with this one I don't care if there is more light green than dark, as this was purely to see what a speckled pattern would look like. On one of my other older Leman Russ' I did apply a speckled pattern using a brush and it came out quite well. So now I thought I'd try it with tape. Only time will tell.
I am now just waiting for the weather to improve so I can actually get out there and spray these tanks. As anyone living in the UK will now, the weather has been changeable to say the least. In the mean time I'm going to break out the masking tape again and start working on the turrets. I'll also be continuing work on my regimental command squad and the 2 Leman Russ' that already have their markings. Comments and suggestions are always appreciated. Thanks for taking the time to read this. Enjoy!


