Another completed tank! This time it's the magnetised Manticore/Deathstrike


Ride of the Valkyrie, Part 5
Let me start by saying "oooh magnets!", closely follwed by "curse you magnets!".
This week I've continued the Valk project by magnetising the weapons, which I'll get onto in a moment. First off though I attached the cockpit section the main body and then added the landing gear.


The first pic is just all the landing gear laid out having been removed from the sprue and cleaned. For those that haven't built a Valkyrie, GW has done a very good job making sure that you can only glue similar pieces in the right place, so that everything lines up and sits correctly. The second pic is just a shot of the landing gear in place.


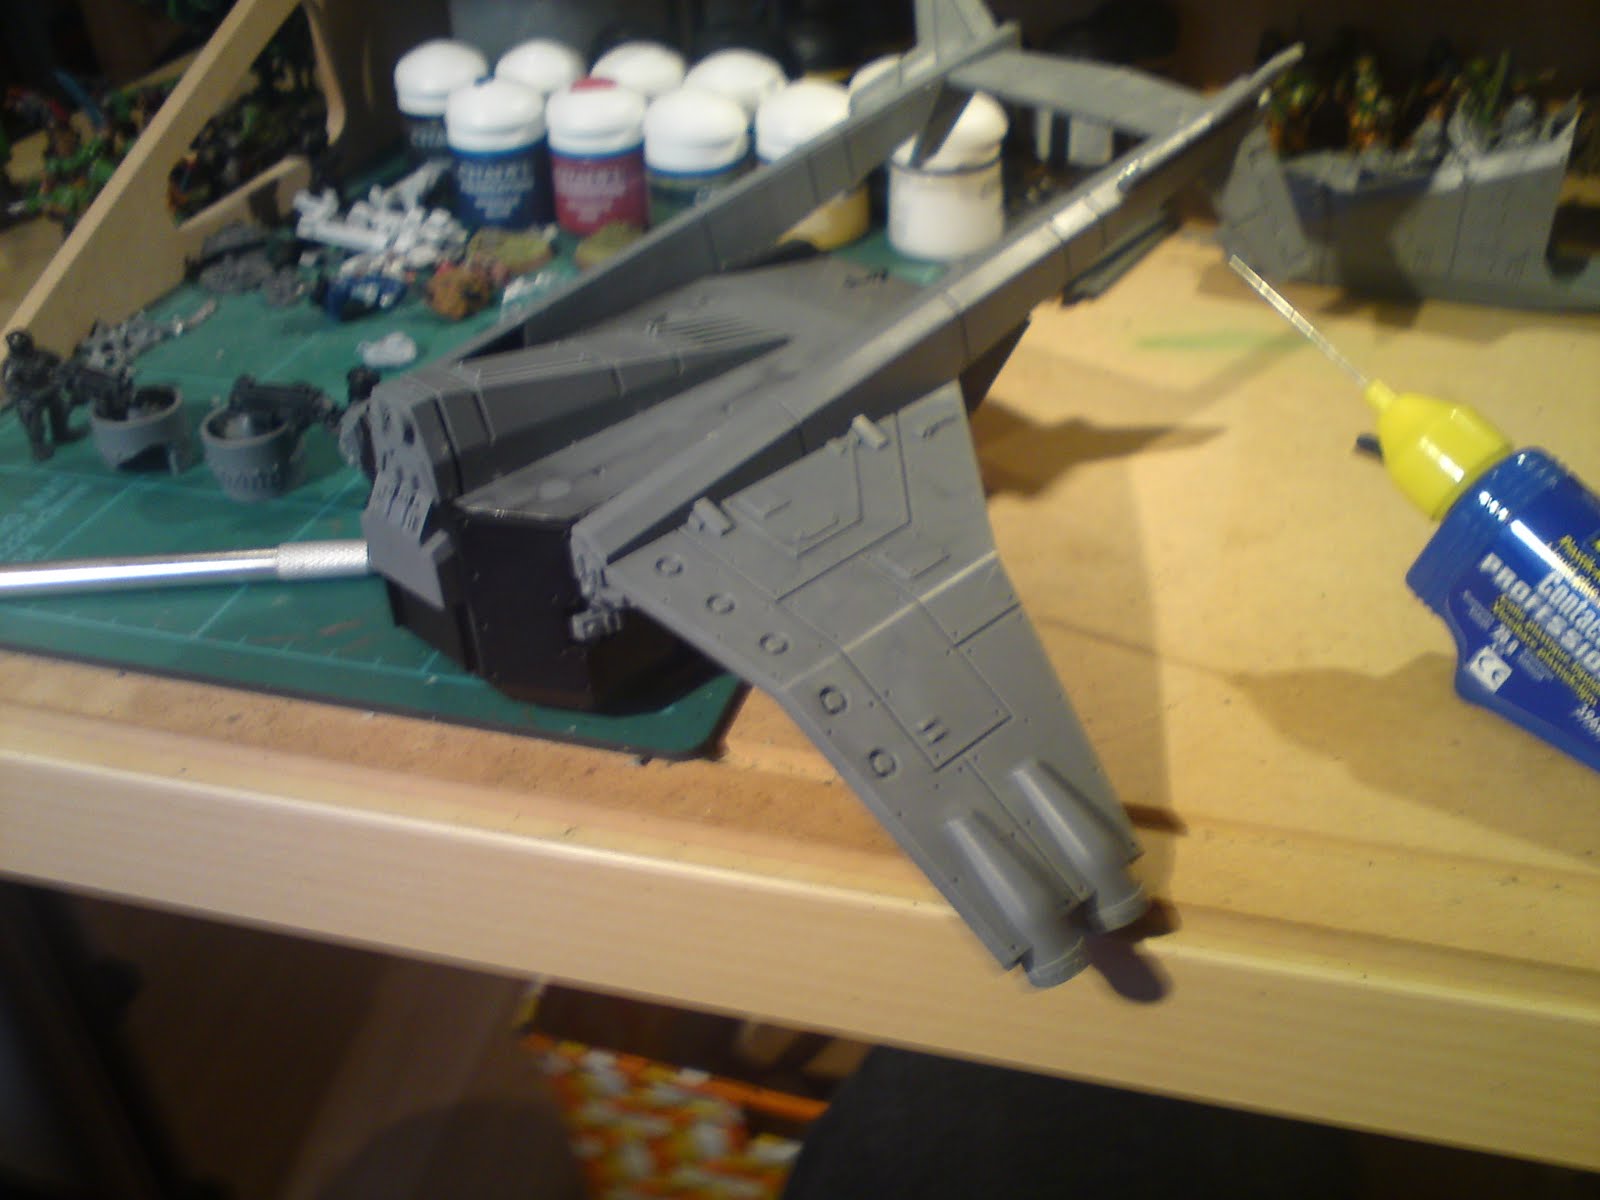
And here are some pics showing the cockpit section in place. I had to hold this in place for a while so that the glue took hold as I found that the section was moving away otherwise.


So moving onto the magents. I wanted to magnetise as much as I possibly could from this stage. I started with the cockpit sensor arrays and weapons. I followed the tips from Col. Corbane's article on magnetising the Valk, which can be found here. The instructions were really useful, and saved me from struggling through like a blithering idiot.
The sensors and weapons were done by drilling a 2mm hole as close to the centre as I could get. I started with a 0.5mm drill bit and then worked up to 2mm with a 1mm and then 1.5mm bit. Next I glued in a 2mm magnet, checking to make sure that the polarity direction was the same for all of them. This was done so that they would all attract to the magnet that will be placed in the housings on the cockpit.


Here are the shots of the side sensor and weapon mounts. Again, I followed Col. Corbane's instructions by using some green stuff to make a mount for the magnet to be attached to. So being very sure about the magnet polarities, I glued another 2mm magnet into each mount. And so this section was complete!
I was hoping that I could make a fixing so that I can have another lascannon on the other side, but the steps get in the way. So I'll have to try and make a double lascannon mount for a Vendetta conversion.

Next up I worked on the wing mounted weapons. The HK missiles were the easiest to do. Firstly, the majority of one of the fins had to removed from each missile. Then I drilled two 2mm holes in the top (they ended up being a bit close, but live and learn). Next a 2mm magent was glued in place. Again I can't stress how important it is to ensure the polarities are correct. I think I lost count of the number of times that I dry fitted everything.

For the missile pods, a little more work was required. The two cylinder sections were glued together as normal, but once they were dry a large blob of green stuff was place inside each on the section where the pods attach to the wings. Once this had cured, the mount was removed using a modelling knife. Now it was time to drill the holes for the magnets. The green stuff that was inserted earlier is for providing a bit of extra strength and also some extra depth to drill in to. Again two 2mm magnets were added. Next up is the wing mounts themselves.


The wing mounts were probably the most difficult part of this build. The first thing that had to be done, was to get some more green stuff and push it into the V shaped mount. I had a bit of overflow on the sides, but this can be cleaned off easily once the green stuff has set a little, after about an hour. The green stuff needs to fully set before anything else can be done, so leave it for at least 24 hours.
Now that the green stuff has set, it's time to drill some more holes. Break out the 0.5, 1, 1.5 and 2mm drill bits again and drill two holes in the green stuff. Try to avoid placing them too close to the ends, or the green stuff may break, like it did for me - thank god for super glue! Once the holes have been drilled, dry fit the magnets into them, once again checking polarities. When I was happy with everything I glued the magnets in place. And that concludes all of the magnetising!
Now for some reason I haven't taken any photos of the weapons attached to the mounts etc, but I will get some done for the next update. Thanks for reading through this mammoth post, and feel free to leave comment/suggestions! Cheers!
This week I've continued the Valk project by magnetising the weapons, which I'll get onto in a moment. First off though I attached the cockpit section the main body and then added the landing gear.


The first pic is just all the landing gear laid out having been removed from the sprue and cleaned. For those that haven't built a Valkyrie, GW has done a very good job making sure that you can only glue similar pieces in the right place, so that everything lines up and sits correctly. The second pic is just a shot of the landing gear in place.


And here are some pics showing the cockpit section in place. I had to hold this in place for a while so that the glue took hold as I found that the section was moving away otherwise.


So moving onto the magents. I wanted to magnetise as much as I possibly could from this stage. I started with the cockpit sensor arrays and weapons. I followed the tips from Col. Corbane's article on magnetising the Valk, which can be found here. The instructions were really useful, and saved me from struggling through like a blithering idiot.
The sensors and weapons were done by drilling a 2mm hole as close to the centre as I could get. I started with a 0.5mm drill bit and then worked up to 2mm with a 1mm and then 1.5mm bit. Next I glued in a 2mm magnet, checking to make sure that the polarity direction was the same for all of them. This was done so that they would all attract to the magnet that will be placed in the housings on the cockpit.


Here are the shots of the side sensor and weapon mounts. Again, I followed Col. Corbane's instructions by using some green stuff to make a mount for the magnet to be attached to. So being very sure about the magnet polarities, I glued another 2mm magnet into each mount. And so this section was complete!
I was hoping that I could make a fixing so that I can have another lascannon on the other side, but the steps get in the way. So I'll have to try and make a double lascannon mount for a Vendetta conversion.

Next up I worked on the wing mounted weapons. The HK missiles were the easiest to do. Firstly, the majority of one of the fins had to removed from each missile. Then I drilled two 2mm holes in the top (they ended up being a bit close, but live and learn). Next a 2mm magent was glued in place. Again I can't stress how important it is to ensure the polarities are correct. I think I lost count of the number of times that I dry fitted everything.

For the missile pods, a little more work was required. The two cylinder sections were glued together as normal, but once they were dry a large blob of green stuff was place inside each on the section where the pods attach to the wings. Once this had cured, the mount was removed using a modelling knife. Now it was time to drill the holes for the magnets. The green stuff that was inserted earlier is for providing a bit of extra strength and also some extra depth to drill in to. Again two 2mm magnets were added. Next up is the wing mounts themselves.


The wing mounts were probably the most difficult part of this build. The first thing that had to be done, was to get some more green stuff and push it into the V shaped mount. I had a bit of overflow on the sides, but this can be cleaned off easily once the green stuff has set a little, after about an hour. The green stuff needs to fully set before anything else can be done, so leave it for at least 24 hours.
Now that the green stuff has set, it's time to drill some more holes. Break out the 0.5, 1, 1.5 and 2mm drill bits again and drill two holes in the green stuff. Try to avoid placing them too close to the ends, or the green stuff may break, like it did for me - thank god for super glue! Once the holes have been drilled, dry fit the magnets into them, once again checking polarities. When I was happy with everything I glued the magnets in place. And that concludes all of the magnetising!
Now for some reason I haven't taken any photos of the weapons attached to the mounts etc, but I will get some done for the next update. Thanks for reading through this mammoth post, and feel free to leave comment/suggestions! Cheers!