New Post

Rss

Monday, 2 July 2012
Manticore and Hellhound

Manticore and Hellhound

 A double whammy for you all today. I am currently working on two models. The first is my ForgeWorld Artemia pattern Hellhound. And the second is the all plastic GW Manticore/Deathstrike.

 So to start off with, here is the Artemia pattern Hellhound. I've had this kit for a few years and like others has been sat unfinished. It was basecoated in my old scheme of Dark Angels Green, but I sprayed it with Fairy Power Spray, and left it to soak before attacking it with a toothbrush to remove the old paint. It cleaned up pretty well, with only the light basecoat of Chaos Black remaining, which was good enough for me.

I gave the tank another light coat of Chaos Black spray just to make it even and all the resin bits needed it as they had cleaned up beautifully (probably as I hadn't washed them down properly in the first place - oops!). One the basecoat had dried, I applied Vallejo Model Air Black Green straight from the pot using the Games Workshop spray gun, the results of which can be seen below:

For a cheap (ish) alternative to an airbrush, it did a pretty good job. The coat is nice and even, with no pooling or paint runs. How much of that is to do with the paint itself I can't say. The Model Air range doesn't require thinning. I sprayed the whole model, except the tracks as I'd left them off for ease of painting. 

I did mask up the barrel of the Inferno cannon as it will be easier to paint over a black basecoat rather than the green. I have got a heavy flamer to on the hull as well. If I'd made this model recently, I would have tried to magnetise the hull weapons, oh well. That's how far I am with the Hellhound, now onto the Manticore!

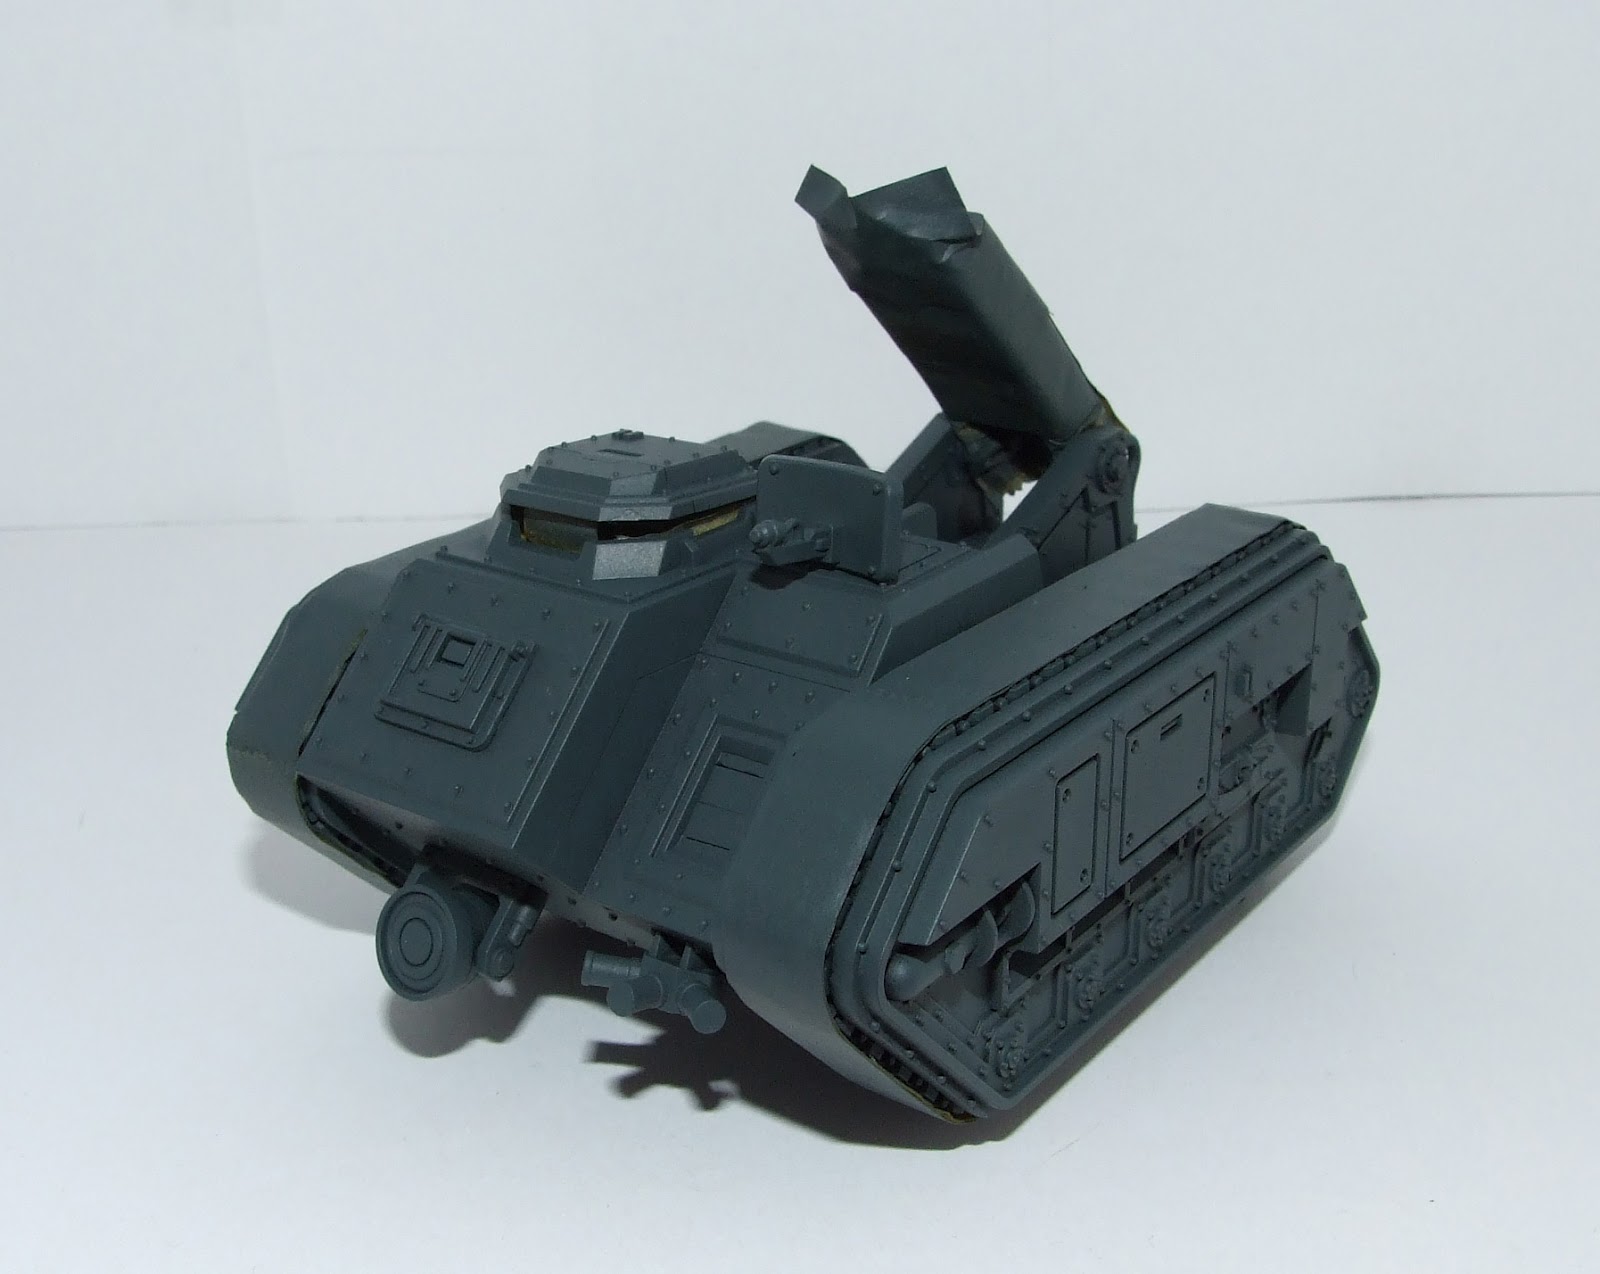
And here is the Manticore/Deathstrike. Doesn't look particularly impressive without a missile, or four, attached to it. The paint scheme is the same as the Hellhound, Vallejo Model Air Black Green over a Chaos Black spray undercoat. I have done a hell of a lot more to this model, which will all become apparent in the next post. Stay tuned and thanks for reading!

Tuesday, 26 June 2012
A Referral For A Friend

A Referral For A Friend

As the title suggests, this is to promote some interest in one of my friend's blogs.

The blog is detailing my friend JK's refurbishment project on his 27ft sailing yacht. This may or may not be of interest to those of you who read my blog, but I figured I might as well give it a shot.

Anyway, his blog, GoodTarp, can be found here. Enjoy!


Tuesday, 19 June 2012
Shadowsword Finished - Revenge

Shadowsword Finished - Revenge

The Shadowsword/Stormlord is complete! Having spent what seems like an absolute age on this project, it is now finally finished. Brace yourself for a pic heavy post. Enjoy!


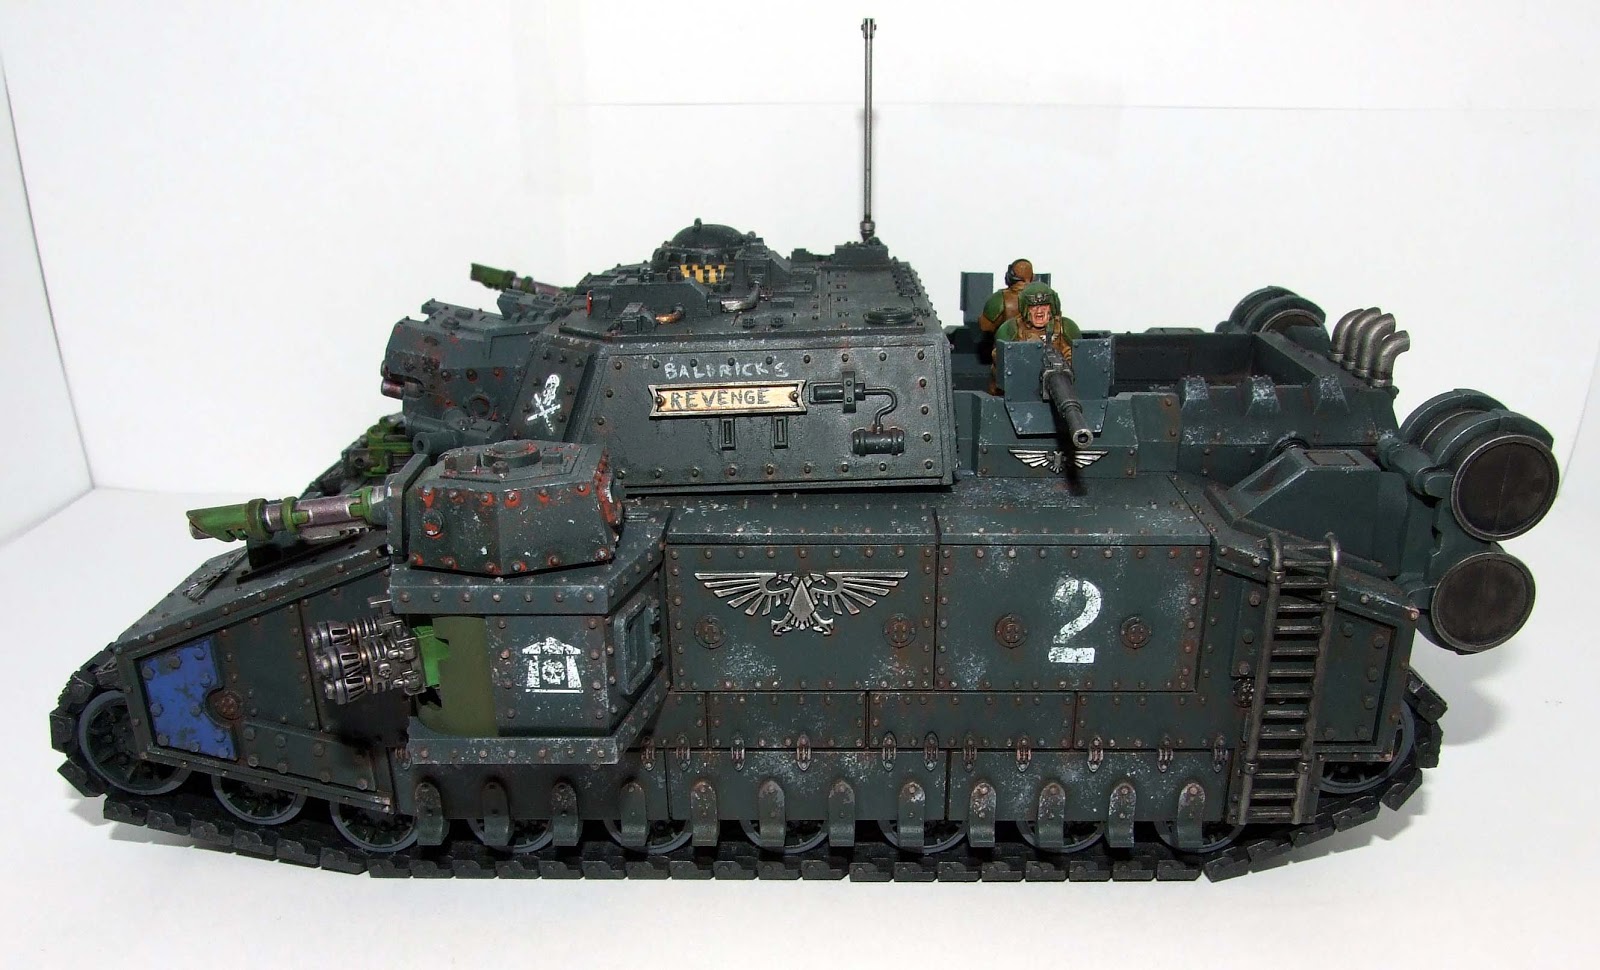
As I mentioned in the previous post, I entered this tank into a painting competition at my local GW. I didn't win, but it did give me a boost to get it finished. The competition theme was based on Private Baldrick's poem "The German Guns" (I recommend youtubing it). This meant that I had to somehow tie it into my tank. So I decided to name the tank "Revenge", and then daub "Baldrick's" above the name plates, to suggest the crew had come up with the nickname.

I figured I'd start off with all the pieces laid out all nice and neat for you.

Just a couple of close up shots showing the name plates. I used ForgeWorld weathering powders to do the rust effects. I did apply them a bit heavy in some areas but I don't think it makes much difference.

Here's a close up of the track details. The road wheels were painted using the method described in Imperial Armour Model Masterclass Volume 1.

I used several bands of washes to try and get a heat discolouration look on the heavy flamers. The paint chipping on the transfer was achieved by dabbing on some of the original camo colour using a sponge. I think this transfer came out the best compared to some of the others.

Moving on to the whole tank, I'm going to start with the Stormlord as this is what I entered into the competition. I won't go into too much detail as it will soon become repetitive, so just sit back and have fun looking through the pictures.

Stormlord Front view

Stormlord left side view

Stormlord rear view

Stormlord top view

Stormlord decking detail
 
Stormlord heavy stubber gunners in position

 And here are the gunners propped up for a better view


I thought I'd better take a few detail shots of one of the gunners. They were painted using some of the new GW paints. The green was my usual scheme of Goblin Green, highlighted with Camo Green and then washed with Devlan Mud. Normally I'd paint the clothing with Snakebite Leather and then wash it with Devlan Mud, but I thought I'd see how the new paints work out. I started with a basecoat of XV-88, and then washed it with Devlan Mud (not got the new wash yet). Then I highlighted using Balor Brown, which is meant to be the replacement for Snakebite Leather. I was then going to add an additional highlight of Zamesi Desert but didn't think the model needed it.

From using the new paints I don't think that Balor Brown is a direct replacement for Snakebite Leather. This may be because I normally use it as the base and then wash it, so I'll have to try that way at some point with Balor Brown.

Next up is the big gun Shadowsword.


 Shadowsword front view


Shadowsword left side view


 Shadowsword top view and a detail shot of the barrel muzzle
 

Following on from the Shadowsword is the stubby barrelled Banehammer

  Banehammer front view


Banehammer left side view


Banehammer top view


And finally we have the Stormsword

Stormsword front view


Stormsword left side view


Stormsword top view

There are two more variants, but I couldn't get the muzzle off the Shadowsword barrel and didn't want to pull too hard as some of the weathering powders were still lose.

Thanks for looking through these pics, I hope that this project has been helpful and that it's encouraged you to try using magnets. Thanks again.
Copyright © 2012 Cadian 127th Regiment All Right Reserved