New Post

Rss

Wednesday 9 December 2009
EFTC Cont. Part 5

EFTC Cont. Part 5

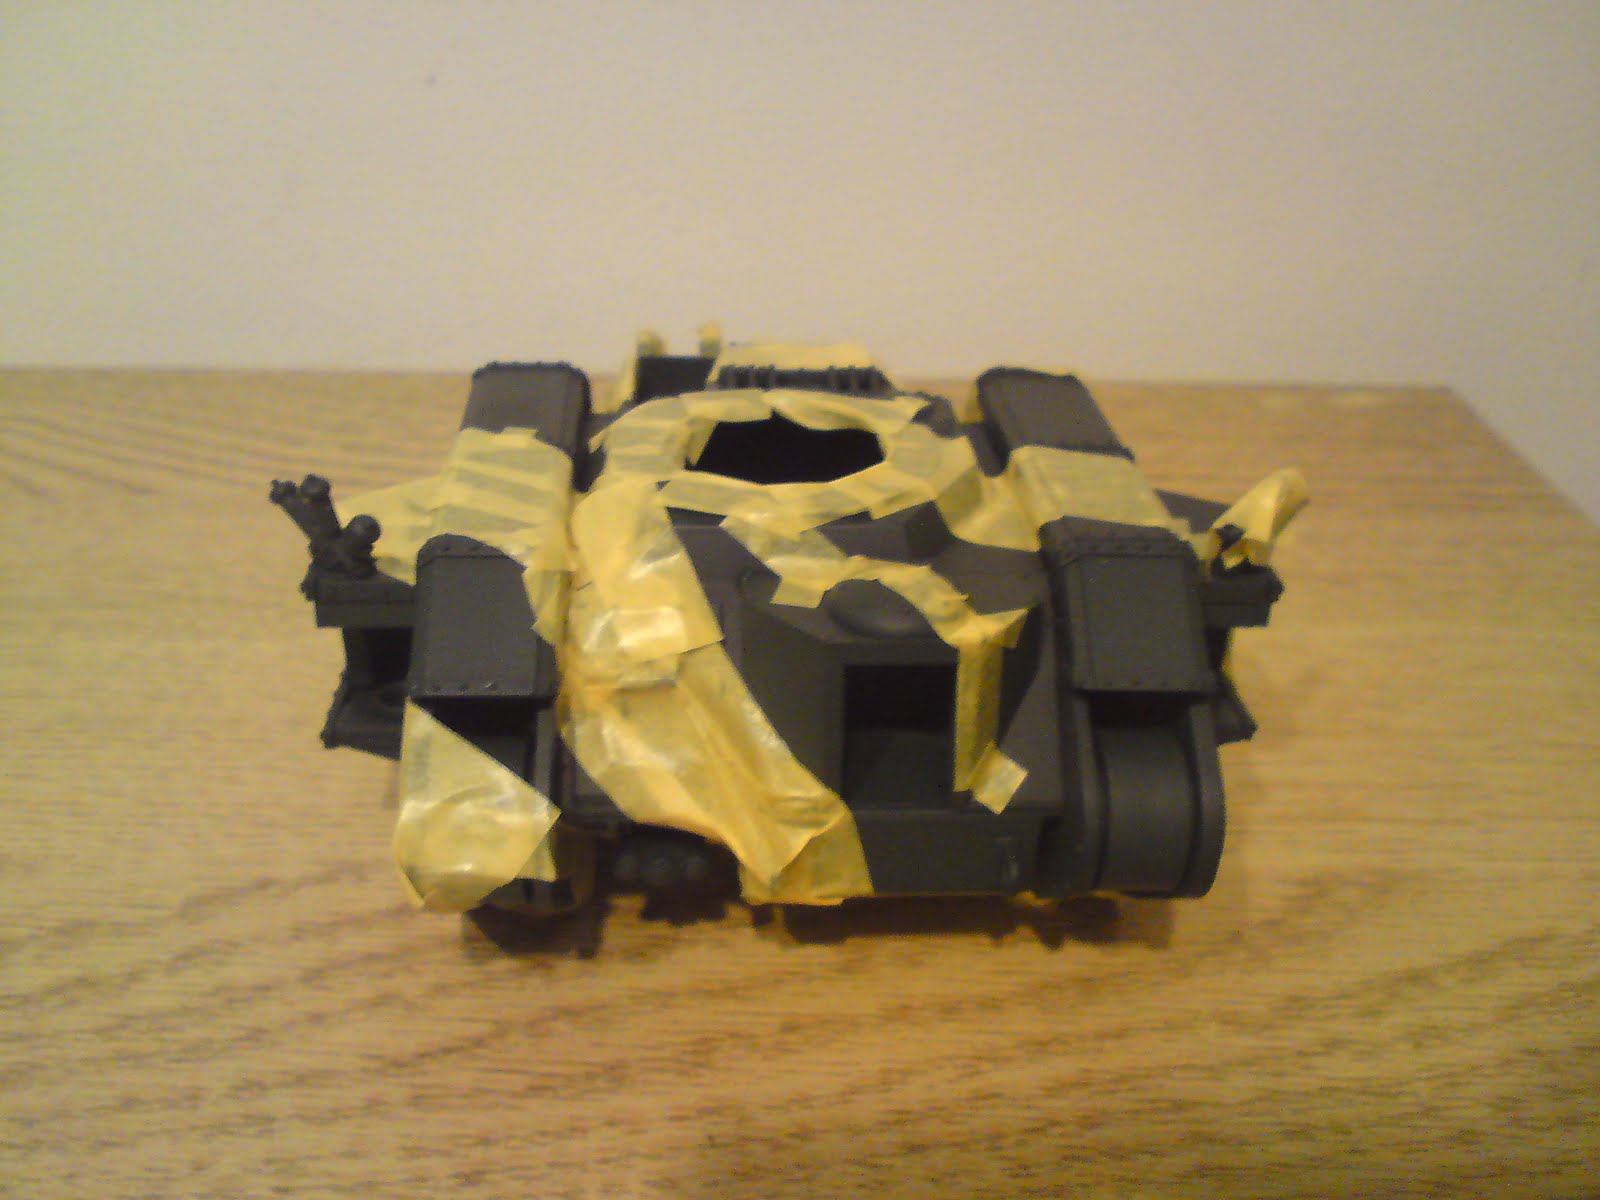
Ok just a quick update, but with lots of pictures. I finished doing all the masking on the turrets so that the four tanks could finally have their coat of Knarloc Green sprayed over them. So here are some pictures of the tanks with their appropriate turret added to them. Now I couldn't actually put the turrets in place properly because of the masking tape, but you get the idea.


So looking good and ready for spraying. I've had to spray the tanks in batches, so I've only managed to get two fully done so far. I have also done the other turrets but have no pics, sorry. I think that the camo has come out really well on these tanks and they already look a million times better than they did before. I am however going to have to do some touch up work with the brush where there was some paint bleeding. Oh and the final photo is without the flash on so as to get an idea of the colours in more natural light.


Comments and suggestions are always appreciated. Thanks for viewing.
Wednesday 25 November 2009
Emperor's Fist Tank Company Cont. Part 4

Emperor's Fist Tank Company Cont. Part 4

I got a little bit behind and disheartened with my tank company. I think that the amount of work that I had to do kind of struck me and left me not wanting to do any. However things have changed. I decided that the tanks had spent enough time on my shelves gathering dust and it would be good if I actually worked on them. The first thing I had to do was break out the tank brush and give them all a good dusting off. Several hours later and I was ready to start.

If you don't know about the composition of the tank company, it consists of 1 Company Command Tank and 3 squadrons of 3 tanks. Whilst browsing through the Games Workshop website, I took another look at the article on building a tank company and something actually gave me an idea. In the article the GW staff put a very distinguishing mark on all of their tanks. This consists of painting the front panel on each side red. I thought that I'd give it a go, so I tried it out on my test Chimera chassis using Mechrite Red and it came up pretty well. So I went ahead and painted it onto two tanks.


Due to my less than brilliant bruss control I decided to mask off the edge of the front plate. This did help to make things easier as I wasnt worried about getting red paint where it shouldn't be. The picture on the right shows the panel in all its fully painted glory, and I think that it makes the tank stand out without being too in your face - in other words its a subtle addition.

I then wondered if I should have all of the tanks with this marking or if I wanted to try different things. In the end I have settled with giving the normal tanks the marking but only painting the small detail in the middle of the panel (no idea what to call this bit) for the command tanks. There is of course the problem that then the enemy would be able to tell which are the command tanks and which aren't, but then again when there are 10 Leman Russ' trundling across towards you, I don't think they'll be too picky about target allocation.

Like using Green Stuff, masking tape requires some skill which takes a bit of practice. Figuring out how long to cut a certain piece and then trying to position it can be frustrating. With these tanks though I didn't have much choice.


For one tank squadron, I wanted the camouflage scheme to be angular, kind of like the disruptive camouflage used in the real world. I tried to keep the pattern the same across the whole of the tank and follow the lines over sections. This worked quite well and this is probably my best attempt at masking with the tank above.


I'm not really that happy with this tank at the mo. Mainly because there is going to be more light green than dark green when I'm done. Do you guys think that I should stick with it and let this one be the odd ball? Or just add more masking tape?


A nice and simple straight lined pattern for this one. Should help to keep the camo looking bold. On this I've tried to make sure that I'm not just doing the same pattern on each side of the tank, I don't want them to look to mirrored.


And finally the experiment. Now with this one I don't care if there is more light green than dark, as this was purely to see what a speckled pattern would look like. On one of my other older Leman Russ' I did apply a speckled pattern using a brush and it came out quite well. So now I thought I'd try it with tape. Only time will tell.

I am now just waiting for the weather to improve so I can actually get out there and spray these tanks. As anyone living in the UK will now, the weather has been changeable to say the least. In the mean time I'm going to break out the masking tape again and start working on the turrets. I'll also be continuing work on my regimental command squad and the 2 Leman Russ' that already have their markings. Comments and suggestions are always appreciated. Thanks for taking the time to read this. Enjoy!
Monday 23 November 2009
Regimental Commanding Officer

Regimental Commanding Officer

I'm back, enough said. First of all I am going to start this post with something that I have never tried before, and that is Green Stuff. Now I have seen some amazing work over the net where people have used GS to create all kinds of things. This made using GS seem a little bit daunting. But I guess that these guys weren't born with the ability to make brilliant models so I decided that everyone has to start somewhere.

I'd already made up my mind that I wasn't going to try anything fancy, so I just mixed a little bit of GS together and used it to bed some resin base pieces. Ta da! So simple! This was incredibly easy, but I am still glad that I started with the basics. I now know what I need to do the next time that I try and use GS. So here are my two examples of bedding resin bases with GS.


The picture on the left is the base that I want to put my regimental commander on. I'm going to use the metal Cadian colonel from the boxed set, as he looks a bit more like a high commander than what I could build with the new plastics. The second base is going to be used for the command squad's heavy flamer trooper, which is why I chose a resin piece with a small flamer tank on it. Both of these pieces came from the GW 40K basing set - about time that I used that for something.


And here we have some crappy photos of the Commanding Officer, Cadian 127th Regiment. I apologise for 2 out of the 3 pictures, I'll try and get some better ones up. With the base I didn't wan't to go over the top with extra detail other than the resin, so I used Calthan Brown to basecoat it. The bits of tubing were picked out with Chaos Black, with Boltgun Metal and then Mithril Silver drybrushing. The whole base was given a drybrush of Graveyard Earth, and some green flock was added using PVA glue.

The commander was painted in the same way as my other troops, Snakebite leather for the clothing and Goblin Green with Camo Green highlights for the armour. Everything apart from the face got a wash of Devlan Mud. The face just got an Ogryn Flesh wash. I also used the Asurmen Blue wash on the decorative sash and Leviathan Purple on the power sword. This has come out very nicely, although you can't really see it on the pictures.

Comments are as always appreciated. Stay tuned for an Emperor's Fist Tank Company update! Cheers
Tuesday 8 September 2009
Emperor's Fist Tank Company Cont. Part 3 (ish)

Emperor's Fist Tank Company Cont. Part 3 (ish)

Don't know if this can really be classed as Part 3, but never mind. As promised I have managed to take some pics of the now spayed Leman Russ'. Unfortunately my poor planning struck again and I ran out of paint before I could do the turrets - crap! So for the moment there are no pics of the turrets.


The shot on the left is just a general one of the 8 tanks. My proper production line building didn't include the two tanks on the far left as these were built ages ago. You can't really tell what colour the tanks are here, but the pic on the right shows the green much better. These little beauties really do look impressive en mass. Thanks for reading again and stay tuned for some more updates.
Sunday 6 September 2009
no image

Finally Some Progress

It has been way too long since I actually did any painting or model related stuff. This is partly due to a two week training course for some voluntary work and also partly to me being a bit lazy recently. But I have finally managed to get my arse in gear and get something done. Unfortunately my PC has once again decided it doesnt want to work so I have no photos to put on yet.

So I have finally used my Citadel spray gun and I am very impressed with the results. I used it to mass spray the remaining 8 Leman Russ' for my Emperor's Fist Tank company. I still need to do a little more spray work on them to get a completely even smooth coat of Orkhide Shade. I have used nearly an entire pot of paint to do them and that doesn't even include the turrets. I promise I'll try and get some pictures up. I also got to use the Tamiya masking tape as there were certain things I didn't want going green on the tanks, such as the engine grill. So that is all I've managed to get done. I hope that I'll be able to crack on a bit more in the coming week but I'm starting a new job in a few weeks so free time will be reduced. Thanks for reading and I'll update again soon.
Thursday 23 July 2009
Emperor's Fist Tank Company Cont. Part 2

Emperor's Fist Tank Company Cont. Part 2

First of all I apologise for the uninventive name for this post - quite frankly I've got so much to type that I couldn't be bothered with coming up with a better one. Plus it explains what I'm talking about nicely.

I hope to show everyone what I've managed to get done since my last post, and I'm quite glad with the progress. So without further ado...


I'll start with a shot of all six tanks with their side sections glued on. These all went together without any trouble - other than the occasional elastic band based injury to my hands and fingers.


With the main bodies of the tanks done, I figured it was time to move on to the extra details such as exhaust, storage and hooks. So the above pictures show the rear storage bin in its component parts and then also once it had been glued into one piece. Also shown are the other details that only need gluing straight onto the tank - I especially hate the loops that fit to the front of the tank, but like the fiddly handles in the previous post, they didn't cause as much trouble as expected.


As you can see there were quite a few exhausts to be built. The picture with them all stuck in the blu tack shows my way of getting round keeping the pieces tight together having been glued and also to stop the overflow of glue on the joins sticking the exhausts to my cutting mat.


Once the glue had dried thoroughly, I scraped off any excess and set the pieces to one side. The pic above shows the finished exhausts. The other picture just shows the additional detail pieces that were glued to the front of the tanks.


The first photo here shows the additional pieces that were glued to the back of the tanks. I didn't bother putting the hook from the accesory sprue on as I think it makes the back of the tank a bit overcrowded. The second picture shows the exhausts and storage bin in place. I also remembered at this stage to glue a handle onto the engine cover. At this point I also went on to add the track guards to the tanks, which required some cutting to get the back pieces to fit how I wanted. I forgot to take any pictures of these so sorry about that.


Whilst routing around for all the turret hatch pieces I came across the Apocalypse upgrade sprues that came with the EFTC when I bought it. I was looking over the sprue and thought "Hmm, that Chaos attachment looks like it'll fit into the hatch piece". And with a little bit of filing it did fit. Of course the Chaos piece looks very... well Chaosy. Out came the modelling knife again and the spikes were removed from the top of the main piece and the smaller symbols were carefully cut from the melta/bolter combi weapon. I also ended up removing the ammo belt as it just didn't seem to fit with the Guard way of working. So after my little bit of being side tracked I had a different comms piece to fit to one tank.


Finally continuing on with getting the turret hatches done, I removed the relevant pieces from their sprues and cleaned them up. I then glued the handles onto the top hatches, but did not glue the hatch into the cupola as I don't know which tanks are going to have open hatches etc. Next I glued the cupola's into their space on the top of the turrets.


Now I have absolutely no idea what this piece is meant to be on the turret, maybe a viewing port, but none the less, it has to be addeed or the turret looks weak. So again the pieces were removed from the sprues, cleaned up and then glued together. I also removed the little cover pieces that go on the front of the turret.


Now I once again had a mad moment of actually doing things differently. So I took the modelling knife and file to one of the turrets and removed the front sight thing. I've always felt that with the new style cupola, this sight is kind of redundant. The more observant of you will see that this piece has been removed in one of the previous pictures - basically I forgot to take photos of when I actually do something. I like the way this turret has turned out, but I decided not to do this to any of the others, I may try and incorporate some battle damage or something so it doesn't look too out of place. The next picture is of the turret base and the gun shield thing for the battle cannon. I haven't glued the turret base on as I still want to be able to add gunners etc to the top hatch. Now the first shield that I glued on, I did without the battle cannon in it's slot on the turret. This was a bad idea. Once the glue had dried, I almost snapped the damn thing off trying to get the gun into the slot - oh well, live and learn. So for the next ones, I put the battle cannon in position and then glued the shield on.


On to the side sponsons. I didn't want to glue the bottom piece onto the housings as I wanted to be able to take it apart and add the actualy guns. I tried using blu tack but this was a massive FAIL! So I gave in and used just a small amount of glue. With a little gentle manipulation the piece will come away so I can get the guns in. I then added the smoke launchers to the top of the housings as I'd rather have all the options on the tank and then just not use them to save points instead of having to make up that the tank has smoke launchers when I want them - if that makes sense :S. Finally the sponson housings were glued onto the sides of the tanks using as little glue as possible. Again I wanted to be able to remove them to get the guns in. The front lascannon housings were not glued, these stayed in place all on their own :).


I don't know about everyone else, but I greatly dislike it when the model you are spraying gets stuck to the cardboard or surface you have placed it on. So using some spare sprue and blu tack I did something that I guess a lot of other people use. First of all I turned the tank upside down. I then added two small blobs of blu tack onto the base of the tank, on the track wheels. I'm spraying and painting the tracks separately.


Then I took a piece of well measured sprue and pressed it firmly into the blu tack. I repeated this for the other side of the tank and voila! The tank now sits of off the surface you are spraying on and the bit that does make contact is just a bit of crummy sprue.


The first pic above shows the tank sitting just above the table top. And the second pic shows why you should always have an ample supply of spray paint. I ran out after almost getting 3 tank body's done - crud!!! And that is where I have got to so far. Looks like I'll be investing in some more spray paint over the weekend.

And now for something completely different. Does anyone have any tips for a beginner using Green Stuff? I got some with my last order of stuff as I have a few ideas for things - mainly filling. So any help would be appreciated, tutorials etc would be well received.

Finally I'd like to thank Mitch @ Ottawa Gamer for the paint brush giveaway that he did. I was lucky enough to be chosen at random to receive the brushes. So thanks again Mitch.

I hope that those of you who manage to read through this post have found it helpful. Comments and suggestions are as always welcome. I am now off to actually finish painting the sponson weapons and to build a 1500pt list for the army painting competition GW are currently running. Thanks for reading.
Copyright © 2012 Cadian 127th Regiment All Right Reserved