New Post

Rss

Friday, 15 October 2010
Ride of the Valkyrie, Part 4

Ride of the Valkyrie, Part 4

Continuing my extremely slow construction of my Valk, I move onto the next stage, the cockpit.


The first stage is getting the two crew members placed in their seats and then getting their arms attached. This is pretty easy as the seats have the grooves in them to align the arms more easily. The only choice I have to make is which head to use. So I went with the closed visor for the copilot and the targeting head for the pilot. Once these were dry I glued the consoles in place and the two seats together. I didn't take any pictures at this point though.


Next up was the exterior of the cockpit. So again I cleaned up and laid out the pieces to get an idea of what I have to do. I can't believe how fiddly the nose section is. The sensor array is probably the most fiddly. But in the end it all fitted together nicely.


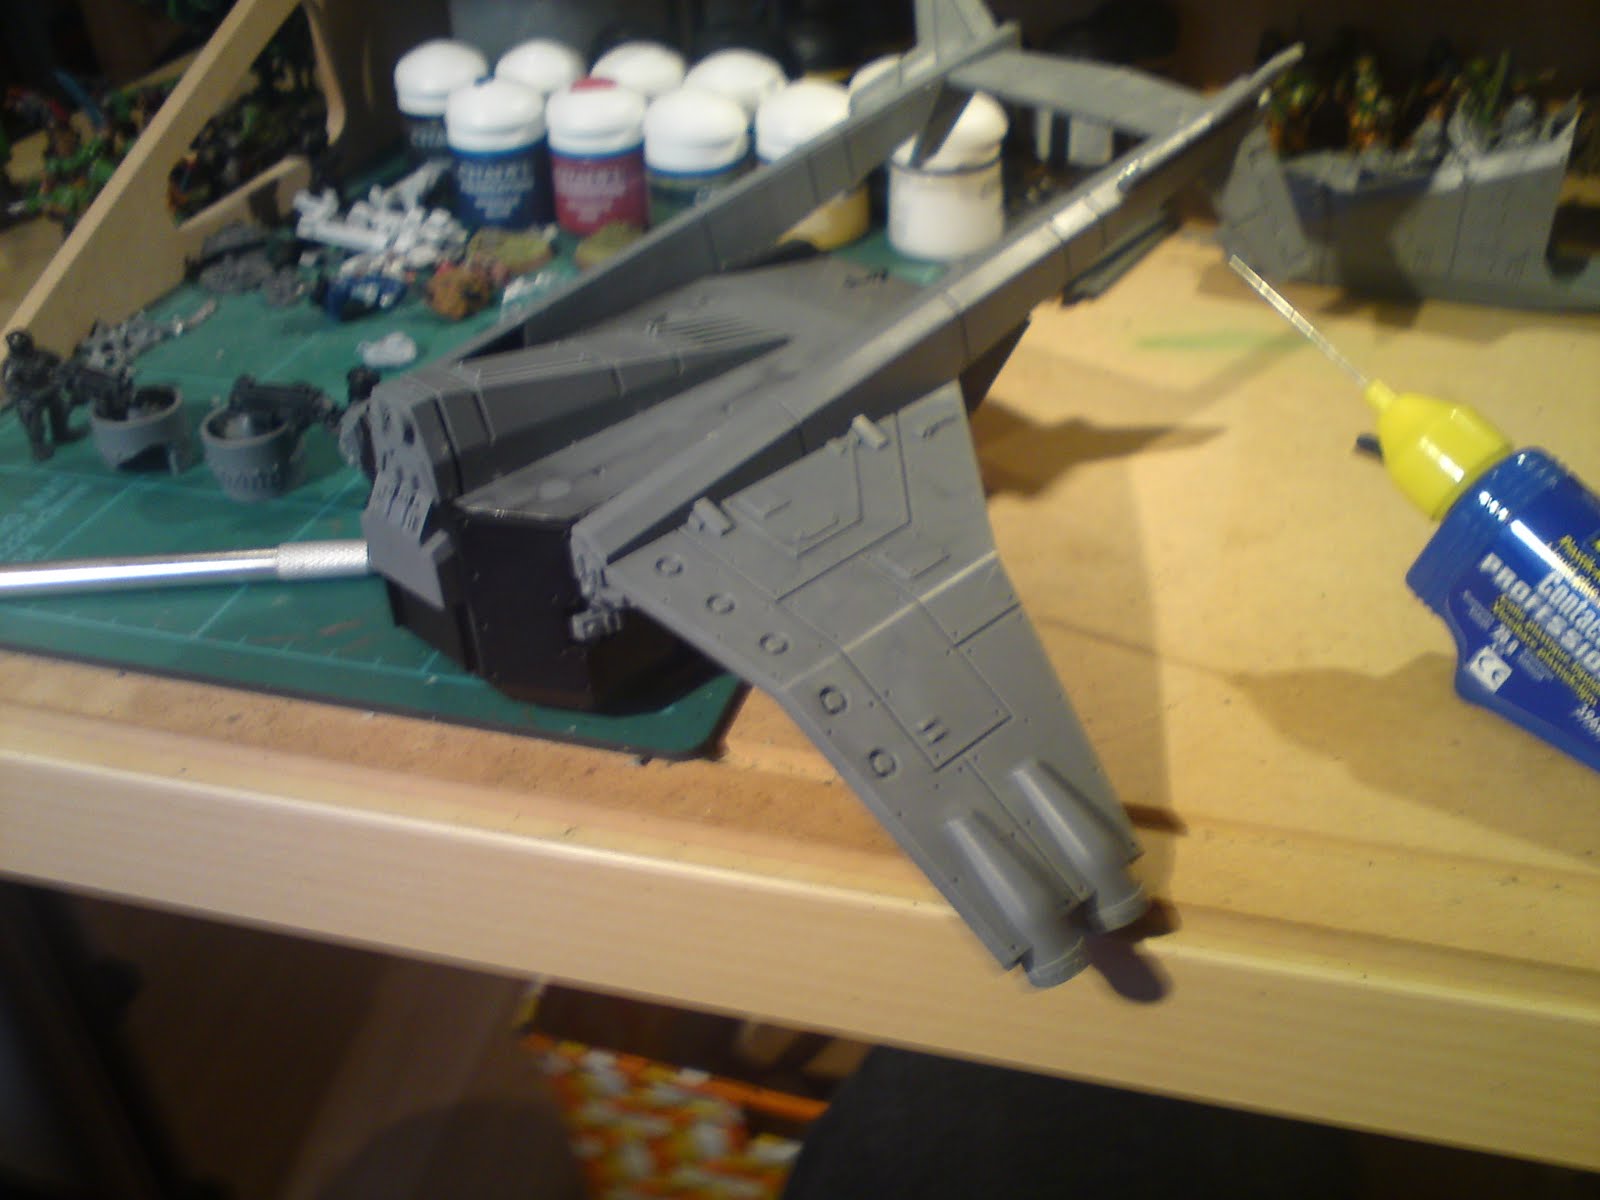
So here are a couple of pics showing the completed cockpit section, all except the clear canopy and side weapon and side sensor. I'm not too sure about the strength of the canopy support inbetween the two crew members, it seems like it may fall off with the slightest touch.


And to finish off, I've glued the wings onto the main body. I'm still trying to find my magnets before I attach the weapon mounts.

So next up is attaching the cockpit to the main body and getting the odd little bits finished. Thanks for reading, and as always comments and suggestions are grealty appreciated.
Saturday, 2 October 2010
Ride of the Valkyrie, Part 3

Ride of the Valkyrie, Part 3

So its time to take a look at how this project is progressing.

When I started this project I thought about magnetising everything using Col. Corbane's excellent guide here, but I kind off forgot about it and by then it was too late. So instead I've decided that I'll just magnetise some parts, and by some I mean the wing mounted weapons and the nose weapons. However, I'm not quite at that part of the build, mainly as I can't find my magnets!

In the mean time here are some progress shots:


Firstly, I glued the other tail section onto the main body. I also glued the cross piece that runs between the two at the back. Both side doors open nice and smoothly, one side a bit to easily though. I did have a little problem, which was the little piece that goes on top of the heavy bolter support fell off. Obviously not enough glue. This proved to be a right pain to try and glue back in, but eventually I managed to get it back in place - after some swearing!


Next up, I got to work on the engines. At first I thought that the two separate top pieces for each engine were going to be a pain, but they fitted together quite nicely.


Finally came the wings. I chose to remove all the little rivets that are on the thrusters as they just didn't look right. So the first pic is all the bits laid out, while the second one shows them drying with the aid of some elastic bands.

The next stage will be to get the cockpit and pilot/co-pilot completed. Cheers for reading.
Wednesday, 22 September 2010
Ride of the Valkyrie, Part 2

Ride of the Valkyrie, Part 2

Time for an update on my continuing Valk construction project.

Things are progressing quite nicely, I think. I decided not to add any more detail to the interior. I think that the drybrushing does the job well enough and people seem to like it, so why mess with it.

My next task was to get the door gunners completed. This meant undercoating all the various components. I chose not to use spray paint for this and instead used the Foundation Undercoat Black, followed by a coat of Chaos Black. This gave the models more of a gloss finish which is what I wanted. Again I wanted to keep things simple, so I stuck with the drybrushing technique.


The above pic is one of the arm mounts and the swivel mounts. The other arm was already in place in the transport compartment. These pieces got the same drybrush as the interior, Codex Grey followed by Fortress Grey. And the other pic is how the other arm looks in the Valk itself.


The gunners themselves got a slight variation. Rather than using Fortress Grey as the extreme drybrush, I went with Skull White, for a really bright layer. The pictures here don't really show it, but hopefully when I get the big camera out this will show up better. I thought about different colours for the uniform but I think the black flightsuits work well, and will also be used for the pilot/navigator when I get round to doing them.


The arms got the same treatment as the gunner's bodies. I toyed with the idea of making the hands my usual flesh colour, but then figured that the crew would probably be wearing gloves. The heavy bolters got the Codex Grey/Fortress Grey drybrush. Again I was a little torn with what to do as all of my auxiliary weapons tend to be a bright green, but I decided to stick with the darker side this time. Painting them Dark Angels Green was also an option but I'm glad with how they turned out.


Now that the weapon mounts were done, I could finally glue my two transport compartment sections together. A little bit of glue and some elastic bands later and the back end was sitting waiting for the glue to dry.

The next stage is getting the engines ready and finishing of the tail sections before I tackle the wings. Thanks for reading!
Tuesday, 7 September 2010
Ride of the Valkyrie, Part 1

Ride of the Valkyrie, Part 1

So having got fed up of painting infantry, and not being able to motivate myself to finish my sentinel or any more Leman Russ' for the moment, I thought I'd start on a project that I was looking forward to - a Valkyrie!

Before I started I had a little think about how I wanted to build this model. In the end I decided that I was going to build the troop compartment and paint the interior, then build the rest of the model around it. So here are some work in progress pics:


The above pic shows the troop compartment pieces laid out after being removed from the sprues - and also the nearly finished Lascannon for my sentinel (stuck in the blu tac).


The next pic shows the end and a side glued to the base. I figured I'd be able to paint this more easily without the other side glued on.


And here is the other side glued to the roof section. Upon reflection I think that next time I'll paint the interior pieces individually before gluing them together.


This pic shows part of the tail sections and the engine components laid out. The engines look like they are going to be quite fiddly to put together. The pic also shows the intakes on the top of the troop compartment. The roof/side piece aren't glued to the bottom/side piece yet.


Here is the first shot of the interior. I started off by giving the whole of the interior a wash with Badab Black. Then I drybrushed all of it first with Codex Gray and then Fortress Gray (I think).


Another shot of the interior. The floor was drybrushed with Codex Gray, then Boltgun Metal then Mithril Silver. I tried to concentrate the heavy drybrushing on the areas that would see more wear such as towards the exits.


The final pic is just to show the roof/side section. I like the look that the drybrushing has given as I don't want to really over do the interior detail. I will be adding a few extra details though.

Thanks for reading and stay tuned for more updates.

P.S. if anyone has any name suggestions, feel free to leave them

P.P.S. my blog has passed 10,000 hits, so a huge thanks to everyone who views it :)
Sunday, 29 August 2010
Platoon 9-1, Squad 9-1-4

Platoon 9-1, Squad 9-1-4

With all of the pictures of the completed squads of Platoon 7 now up on the blog, I thought it was about time that I showed Platoon 9 some love.

The pictures are done in the same style as before. All of the Platoon 9 squads are going to be kitted out in the same way. Consisting of a Sergeant, Grenade Launcher, Vox Caster and 7 regular Guardsmen. So here is Squad 9-1-4:


My only concern with this squad is that too many of the guardsmen look similar. I think with the next squads I'll have to try and mix the poses up a little bit.


And here is a shot of the back of the guardsmen. I currently have one squad waiting to have their photos taken and another on the workbench, but I don't know when I'll get round to doing them

So thats Squad 9-1-4. Thanks for reading and hopefully no ones getting bored of infantry yet.
Saturday, 14 August 2010
Platoon 7-1, Squad 7-1-2

Platoon 7-1, Squad 7-1-2

The final squad that I have completed for Platoon 7 is Squad 7-1-2. This was actually the first squad that I finished, but they have been sitting on a shelf waiting to be updated with a wash etc before having their mugshots taken.


Here is the front shot of 7-1-2. I love how even though the models were placed in pretty much the same place for the photos, and the camera wasn't moved, that some models are different sizes.


And to complete the squad here is a photo of the backs of all the models.

Platoon 7 is almost complete now. I will be starting work on the Platoon Command Squad soon, but beofre then expect some pictures of Platoon 9 and a Sentinel. Thanks for reading, comments are always appreciated.

P.S.: Over 50 followers now, so thanks to everyone who looks at my blog. :)
Thursday, 22 July 2010
Platoon 7-1, Squad 7-1-4

Platoon 7-1, Squad 7-1-4

Continuing with the rest of 7-1 Platoon, next up is Squad 7-1-4. Yesterday I showed off Squad 7-1-3 here so today is another squad.

I had planned on having a third squad finished by tomorrow, but I haven't quite finished all the squad yet, and then I'm off on holiday on Saturday so they'll just have to wait.

So without further ado, here is Squad 7-1-4.


As with the previous post, there is one photo of the front and one of the back. Somehting I didn't mention is that the squad number is hand painted onto the left shoulder and the Cadian Gate logo on the right shoulder is a decal. I've also been experimenting with MicroSet and MicroSol, and so far I'm impressed. Soon it will be tested on some vehicles :).


2 squads done, 1 so nearly finished, only another 2 to go, but they will definately have to wait a while as I intend to do the command squad first (hopefully). Thanks for reading and feel free to leave comments and suggestions.
Wednesday, 21 July 2010
Platoon 7-1, Squad 7-1-3

Platoon 7-1, Squad 7-1-3

My slow painting has finally produced some results, so this will be the first post of several showing the completed squads.

The first of these squads is 7-1-3. There will be squads 7-1-0, 7-1-1 and 7-1-2 as well, but so far only 7-1-2 is completed, I'm just waiting for the shoulder transfers to dry. 7-1-0 will be the company command squad and 7-1-1 will be the "grenadier/veteran" squad and will have the different camo that I trialed.

So here are the photos for 7-1-3. Please note that this squad hasn't been sprayed with matt varnish yet due to the brilliant English summer, and the missus refuses to let me spray indoors.

I used Photoshop to arrange the pics all nice and neatly. I did find that my new camera is quite smart whilst taking these photos, the face detection ability even worked on them!


Pretty self explanitary, the above photo is a front facing shot and the photo below is the rear facing shot. I think I got all the models in the same order for both photos.


Squad 7-1-3 reporting for duty then. Squad 7-1-4 are just having their photos done and will be posted soon after these guys. As always comments and suggestions are appreciated. Cheers.
Saturday, 10 July 2010
Reinforcements have arrived!

Reinforcements have arrived!

So once again it's been a while since my last post. I promise you that I have done some painting since then. The infantry squad I was working on is finished so I just need to get some decent photos of them - I got a new camera which I'm still fiddling about with.

In the mean time, I got a nice little delivery of items from Maelstrom Games - used one of their discount vouchers!


In my lovely little order I got:
1 x Valkyrie - can't wait to build this!
1 x Shadowsword - need to get some bits for a conversion I want to do
1 x Demolisher/Executioner/Punisher - magnets to be tested on this
1 x Chimera - another conversion to be done hopefully
1 x Chaos Black Spray
1 x Hobby Drill - so I can finally drill out gun barrels!
and a load of little magnets.

I thought I'd also leave you with some shots of my WIP Empire army. Most of this is still in boxes but I'm hoping that it'll provide motivation when I can't be bothered to paint guardsmen.


Basically its the combination of a couple of army deals. It should all add up to:
1 x Empire General - not shown here and already finished!
1 x Kurt Helborg
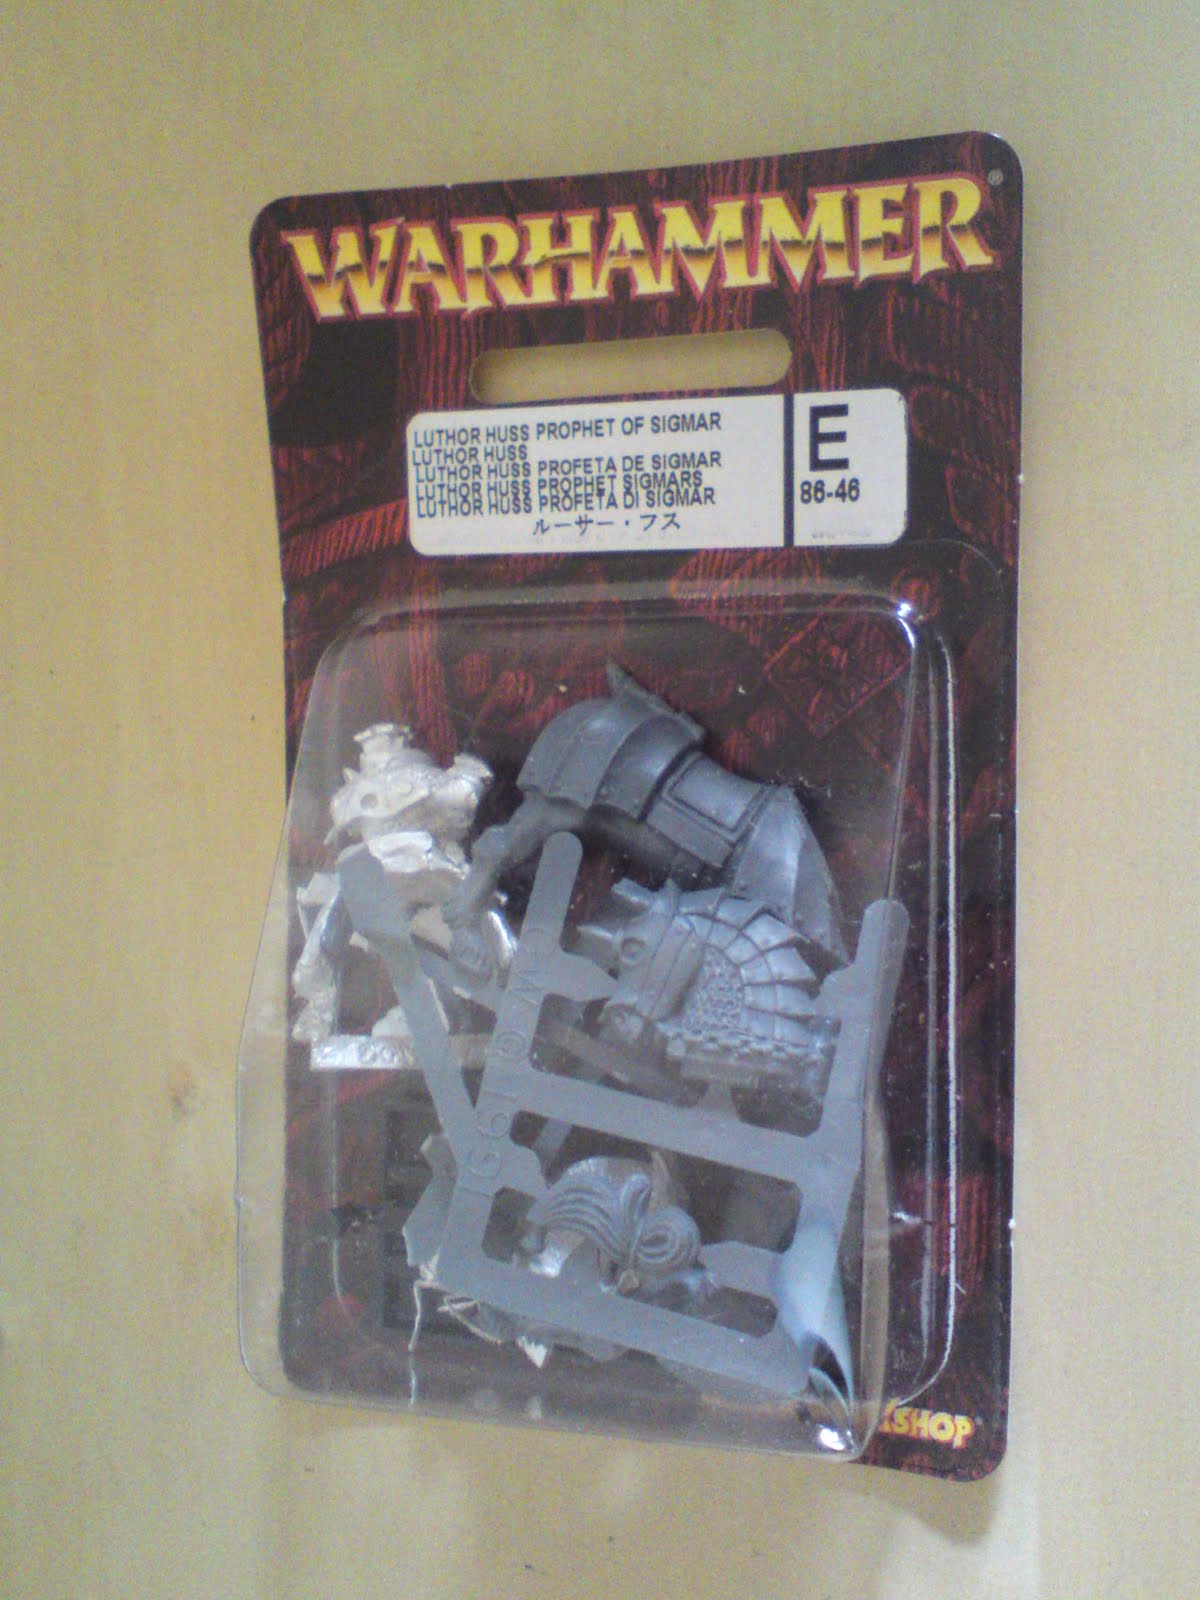
1 x Luthor Huss, Prophet of Sigmar
30 x Flagellants
20 x Free Company/Militia
? x Swordsmen/Halberdiers - don't know how many I've got as I didn't count the sprues
? x Handgunners/Crossbowmen - like above, don't really know how many I've got
15 x Outriders/Pistoliers
16 x Knights - although I think I have more
2 x Cannons/Mortars
1 x Hellblaster/Rocket Battery

I'll leave you with that feast of models. Until next time, thanks for reading!
Monday, 17 May 2010
Infantry Camo Scheme - two choices

Infantry Camo Scheme - two choices

Ok so whilst painting up the latest infantry squad to be added to my army, I thought I'd try something different. My usual paint scheme for the models is Snakebite Leather clothing and Goblin Green for the armour, with Graveyard Earth camo pattern added to the armour. This can be seen in the picture below, which will be named scheme A.


The something different scheme, which will be scheme B, is only very slightly different to A. All I've done is add a small line or blotch of Bleached Bone to the existing Graveyard Earth camo. Scheme B can be seen below.


So far I think that I prefer scheme B, but I've already got 4 squads painted up in scheme A, 2 squads with grenade launchers and 2 with flamers. I've got a couple of ideas of what I want to do but would like some of your thoughts on it.

My first idea is to continue painting my squads in scheme A and use B for my veteran's and Stormtroopers.

My second idea is to paint any squads in the future using B.

Third idea is to add the Bleached Bone camo onto the models with the special weapon and move the squads around. So basically I'll have 4 squads in scheme A, all with the same special weapon and then the rest of the squads in scheme B. This one is a bit more complicated and I'm not sure if I've explained it properly.

I did consider addding the Bleached Bone camo onto the original squads, but I think this may be more trouble than it's worht. Please let me know what you think about these ideas. Cheers.
Copyright © 2012 Cadian 127th Regiment All Right Reserved